I was so in the mood for hummus this weekend. When I was out doing errands I picked up some pita bread to go with the hummus that I THOUGHT we still had in our fridge. When I got home I was soooo disappointed to find out THERE WAS NO HUMMUS LEFT!!!! No one even bothered to tell me! What was I going to do with all this pita I just bought?!? Well, even though I was feeling totally lazy, I decided to just make it myself.
Now I have to preface by saying, this is MY VERSION of hummus! For all you purists out there, you may not want this recipe since it does NOT include tahini. That’s right, you heard me, NO TAHINI!!! I’m just not a fan. As my Israeli brother-in-law Omer likes to point out, without tahini, he says its just plain ol’ chick pea spread. Call it what you want. I’m calling it hummus.
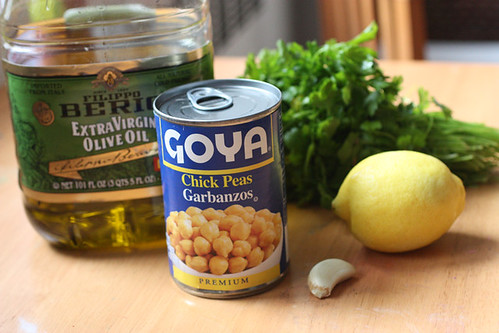
So here goes. This is what you’ll need:
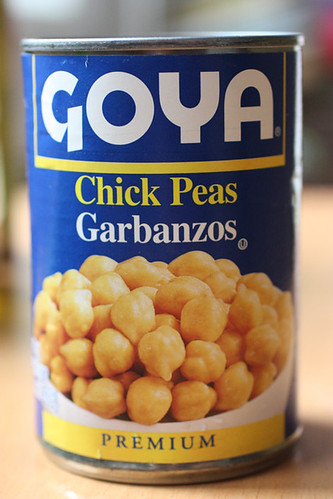
Chick peas, of course
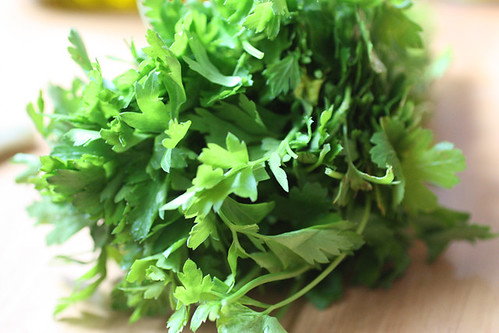
Parsley – please use the flat leaf Italian kind – much better than the curly version. Be careful though. They always seem to put it right next to the Cilantro that happens to look exactly like the parssley. Why do they do that?!?
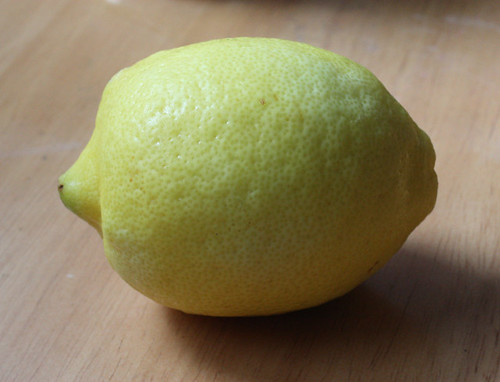
Lemon – for the lemon juice. DON’T use the bottled kind. Ick!!
One garlic clove

EXTRA VIRGIN olive oil, and salt and pepper.

(I didn’t show the salt and pepper – didn’t think I really had to)
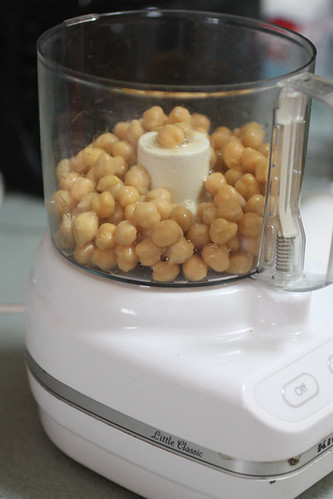
Get your food processor out, open the can of chick peas, drain off the liquid and just dump it in the machine.
Next get a handful of parsley, wash it and take out as much of the stems as possible. Also pat the leaves dry with a paper towel. In they go.
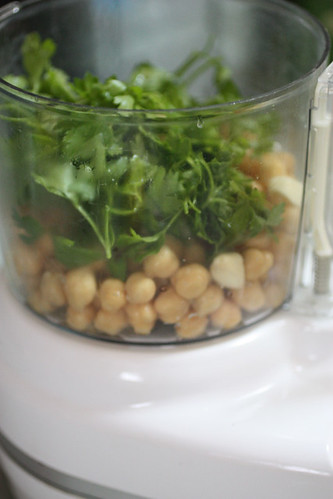
Cut the garlic clove up into a few pieces

then they go in next.
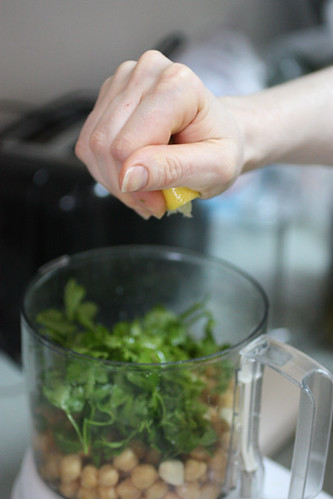
Cut your lemon in half, pick out the obvious pits and squeeze the juice right in. I only used half a lemon this time.
Salt and pepper go next with a bit of olive oil. Just start with a small amount – maybe a teaspoonful.
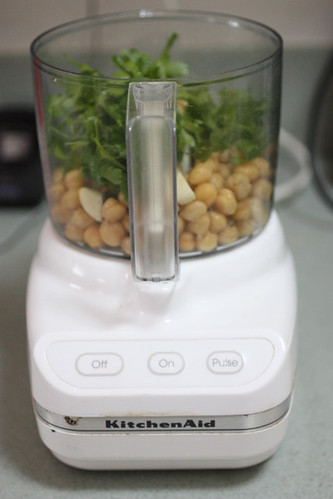
Press the On button or pulse it a few times. It will start to come together but will be a bit dry.
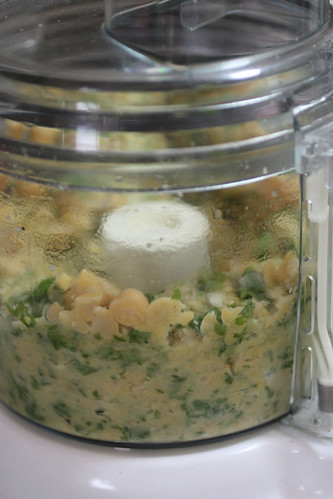
This is where you start to pour more olive oil in while the machine is still going.

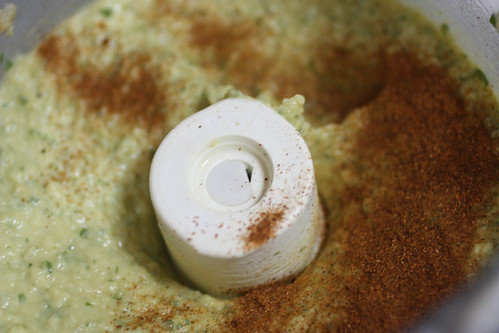
Stop when you like the consistency. I like mine smooth and creamy but not drippy. I added a bit of paprika and then whizzed it up again for a second or two.
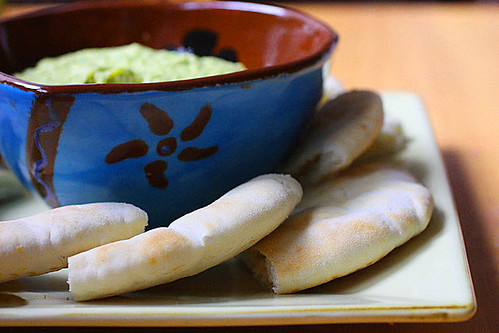
That’s it! Wasn’t that easy?!? Now, if you’re trying to impress, (or if you need to take some photos for your blog) you can put it into a nice bowl, place the bowl on a plate, cut up the pita into fourths and arrange it all nicey nice.
Or, you can do what I would normally do and put it in a plastic food container, eat it, put the leftovers in the fridge and be happy you have that many less dishes to do. Your choice.
Please let me know if you try this recipe and if you like it sans tahini.
My Version of Hummus
1 15.5 oz can of chick peas (I like Goya)
1 garlic clove
handful of fresh cleaned parsley leaves
juice of half a lemon
extra virgin olive oil
paprika (optional)
salt & pepper to taste
1 – Prep: drain the chick peas, rinse & dry the parsley, cut the lemon in half and take out pits, cut the garlic into a few pieces
2 – put chick peas, parsley, garlic salt, pepper, and lemon juice into food processor with 1 teaspoon olive oil.
3 – mix together
4 – add more olive oil to get to a smooth consistency- pour it in slowly as the machine is till mixing.
5 – add paprika and mix again for a couple of seconds
6 – Cut up pita. Spread on pita. Eat.
You forget to add the cumin on top of the hummus . That's what make the tast
I actually didn't forget – I just never put it on before but thanks for the suggestion. I'll have to try it next time.
mmmmmmmmmmmm, I just bought some tahini so I could make my own hummus – I guess I will try it both ways.